
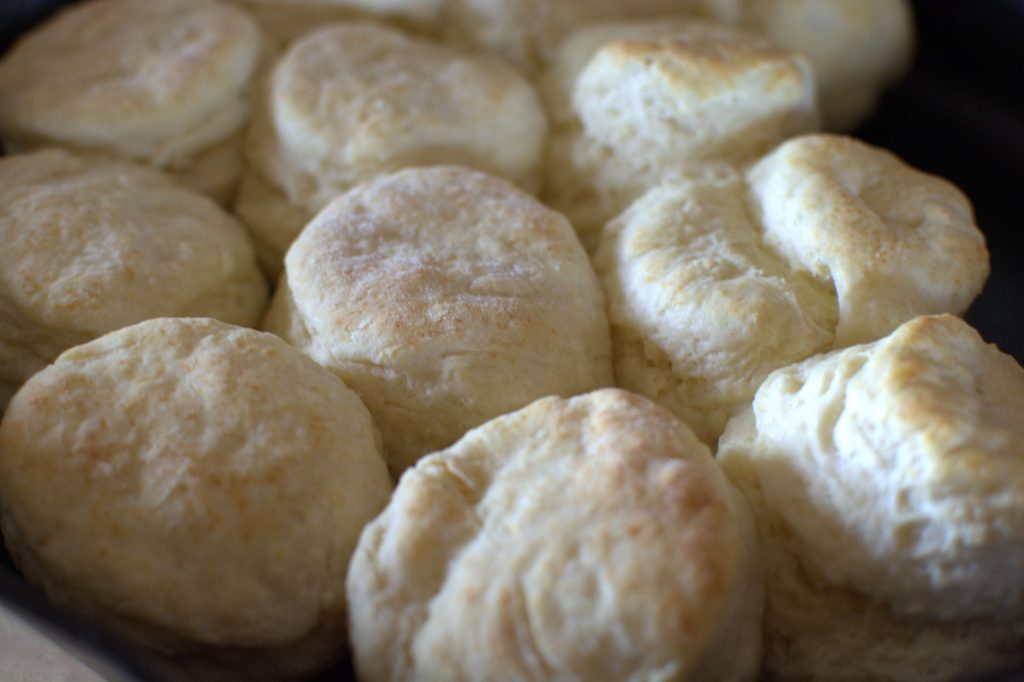
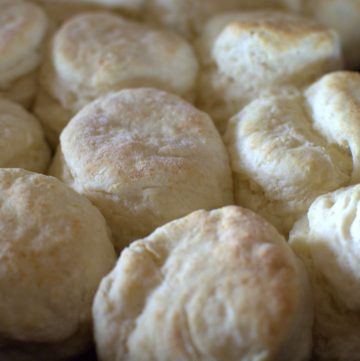
Do you love warm, fluffy biscuits from scratch? It took me a long time to perfect a recipe to be proud of, and now I want to share it!
A Taste of Home
This post may contain affiliate links. Please read the disclosure policy.
When you live overseas, sometimes all you want is to eat something that reminds you of home. You want all the smells of homemade goodness filling the air as your tastebuds await the moment of bliss when pure goodness enters your mouth.
Who Needs an Oven, really?
When we first arrived in China, our kitchen had no oven. I was devastated. I knew things would be different and we would do without, but I never considered not having an oven. It didn’t even cross my mind.
There in our “furnished” kitchen sat a hot plate, a wok, a water kettle and some random utensils. This…did not a kitchen make. We managed for a while like this as we did not want to spend much money. We were unsure of how far our money would go and what living would be like, so we made no unnecessary purchases.
Finally, though, Jonathan realized that, while not necessary, an oven would go a long way in making us, especially me, feel comfortable in our new home. So, he used the Chinese version of Amazon and bought us an oven. It was not like a full oven in America but a bigger version of a toaster oven. It did have a fun rotisserie setting, though.
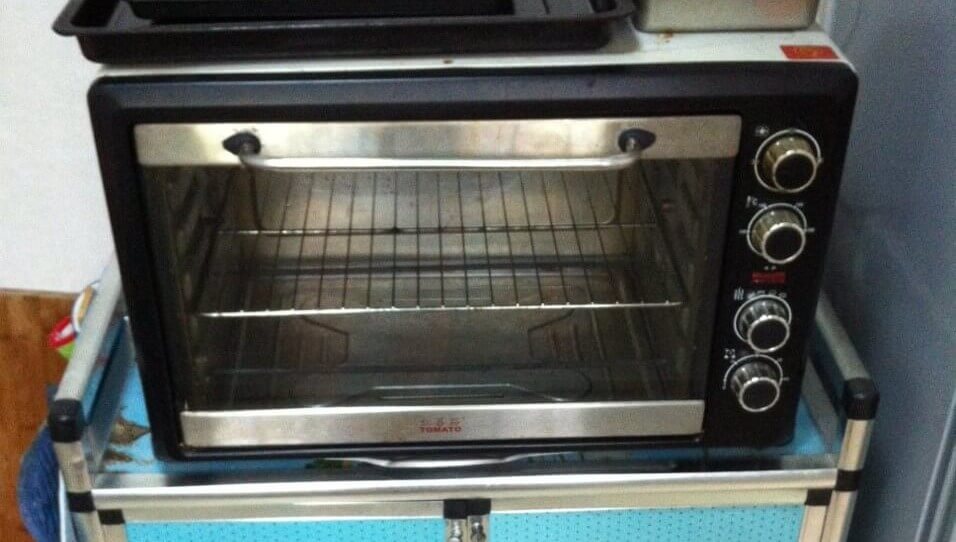
This might have been our best purchase while in China. It is up there with the bed topper and the customized sofa but those are topics for another time. We used the oven almost every day, and it allowed us to share goodies with our Chinese friends. One specific request we got from a friend was an apple pie. What could be more American, right?
Breakfast is the Best
We really love eating breakfast and that works out well since it is my favorite meal to prepare. Making biscuits from scratch became my mission as we are both from the south, and it is the obvious breakfast choice. The only problem is that the butter where we lived was difficult to find and when you did it was rather expensive. It was not a staple I could rely upon.
So, I worked with what was available and boy did we have oil. I used oil in place of the butter and while it worked, they just weren’t the same. We enjoyed them as they were closer to southern biscuits than anything the Chinese stores had to offer, but I guess that is not saying much. It is funny what you can grow to enjoy when your options are limited. You might think this post would be about how I found the best recipe for biscuits made with oil and it will blow you away. Nope. I don’t even remember that recipe we used.

When we moved home, I started working on my biscuit recipe and finally got it just right. These biscuits absolutely use butter with my brand of choice being Kerrygold. Since butchering our first pig in the Spring of 2024, we sometimes switch it up and use lard instead of butter. The lard makes flaky biscuits as opposed to light and fluffy biscuits made with butter.
While I do not use that recipe from China anymore, I do use a key ingredient that I did acquire in China – Kefir yogurt.
Kefir
Now kefir is not exclusive to China. You can get it here easily. I had not heard of Kefir, though, until an American friend of mine in China gave me a bit of her kefir grains and taught me all about it. I even learned that it had been discovered not too far from where we were living at the time. Comparatively speaking, the Caucus Mountains are a closer to southeast China than southeast America.
My husband and I enjoyed our kefir yogurt. To get fresh milk (by fresh I mean not boxed milk) we had a milk lady that would ride around on her motorcycle and deliver bags of milk to your home. You would install a milk box on the outside of your window, and you would find your milk locked in the box according to your delivery schedule.
Buttermilk Kefir Biscuits
After four years in China, we moved back to the States, and you better believe I brought our kefir grains with us. I placed the grains in an extra contact case I had and filled the case with a bit of milk. On the plane, we requested milk so we could freshen the grains. They made it to America safely where I went on to use them until last year when I finally got rid of them. It was a sad day. I did this because we received grains from a friend that she was already using for raw milk. We tried to swap our original grains over from pasteurized to raw milk, but it did not go well for us.
Most biscuit recipes call for buttermilk but I wanted to find an alternative with something I used more often. I saw hacks that talked about using yogurt in place of buttermilk and I always had kefir yogurt on hand and thought I would give it a try. It worked out great and I didn’t have to worry if I had buttermilk at home.
Finally, I have a recipe that I love and have learned biscuit baking tricks along the way. I am here to share the recipe and the tricks with you.
Ingredients you will need:
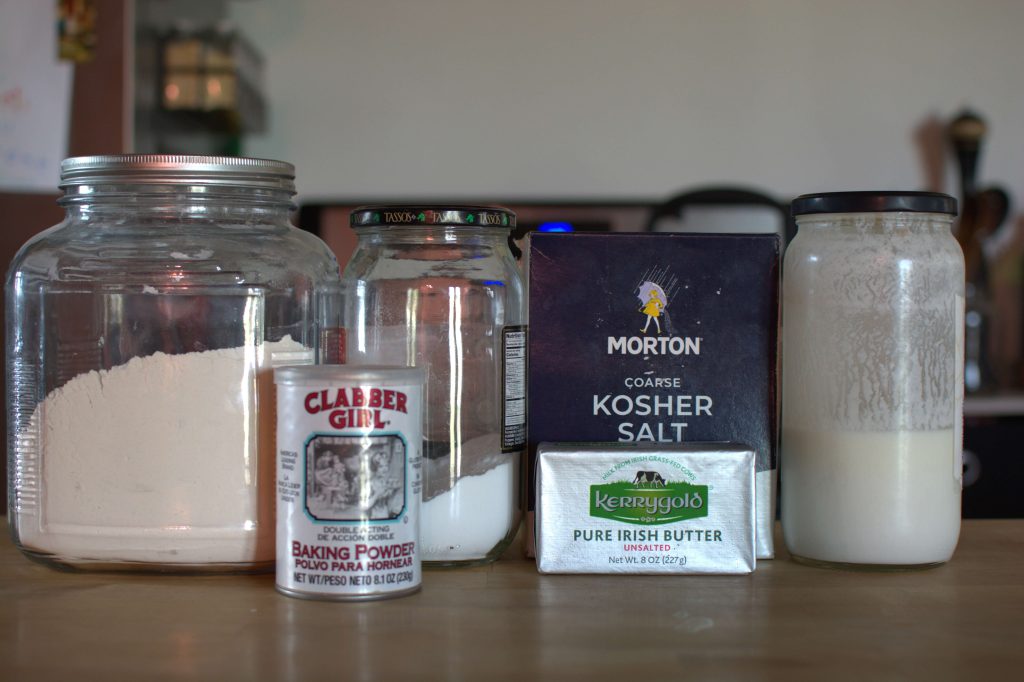
- All-purpose flour
- Baking powder
- Baking soda
- Salt (I have used all kinds of salt but usually prefer kosher)
- Unsalted butter (you can use lard)
- Kefir yogurt (you can use buttermilk)
Tools you will need:
- Large mixing bowl
- Flour Sifter
- Measuring utensils
- Spoon
- Dough Scraper
- Large cutting board (countertop will work)
- Biscuit cutter
- Baking sheet or cast-iron skillet
Making the Biscuits
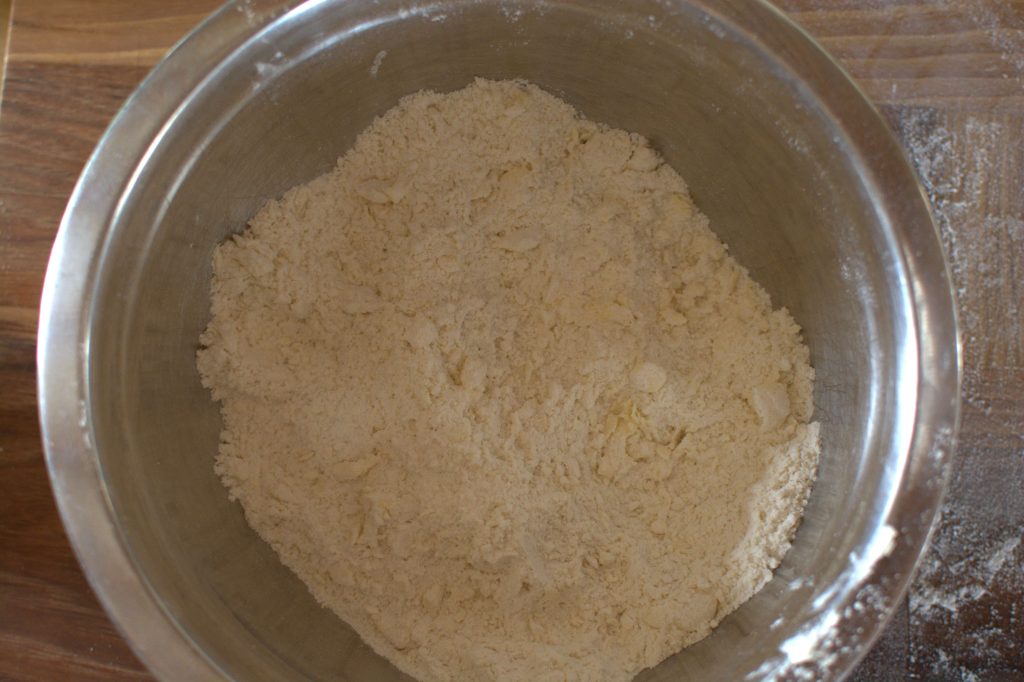
First, gather all of the ingredients and tools needed. Sift the flour, baking powder, and baking soda into a large mixing bowl. Then add the salt and stir all together.
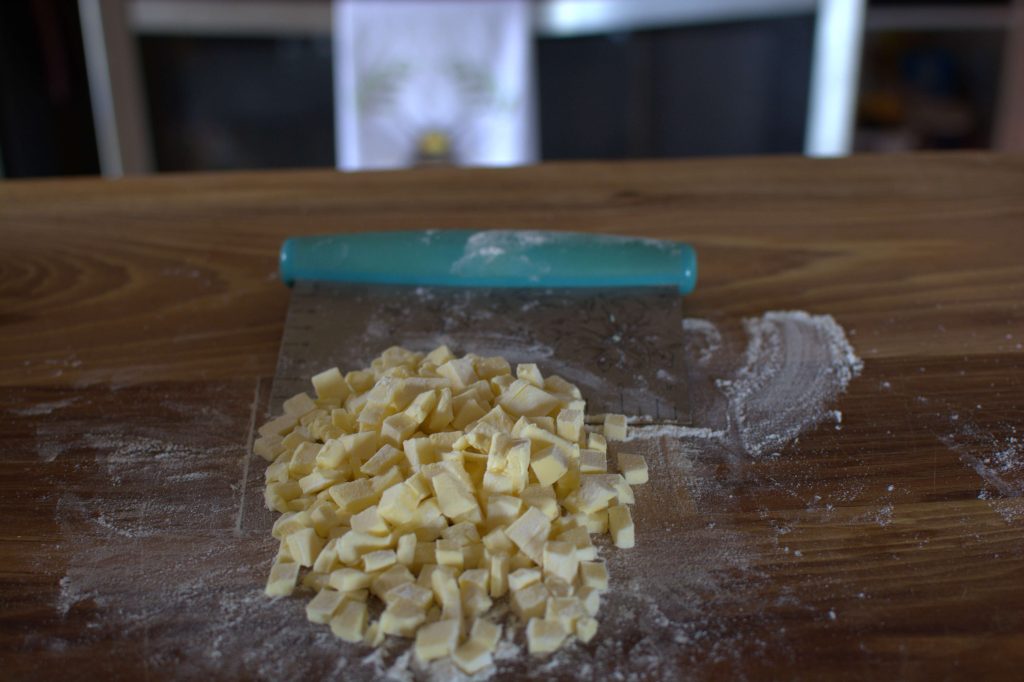
Next, cut the butter into small cubes. I like to coat the butter in flour to keep it from sticking to the bread scraper as I chop it. I also add flour to the scraper as I go. Then, add the small butter cubes to the flour. Mix the butter and flour with your hands squeezing the butter cubes between your fingers until it is mostly combined and only small pebbles remain.
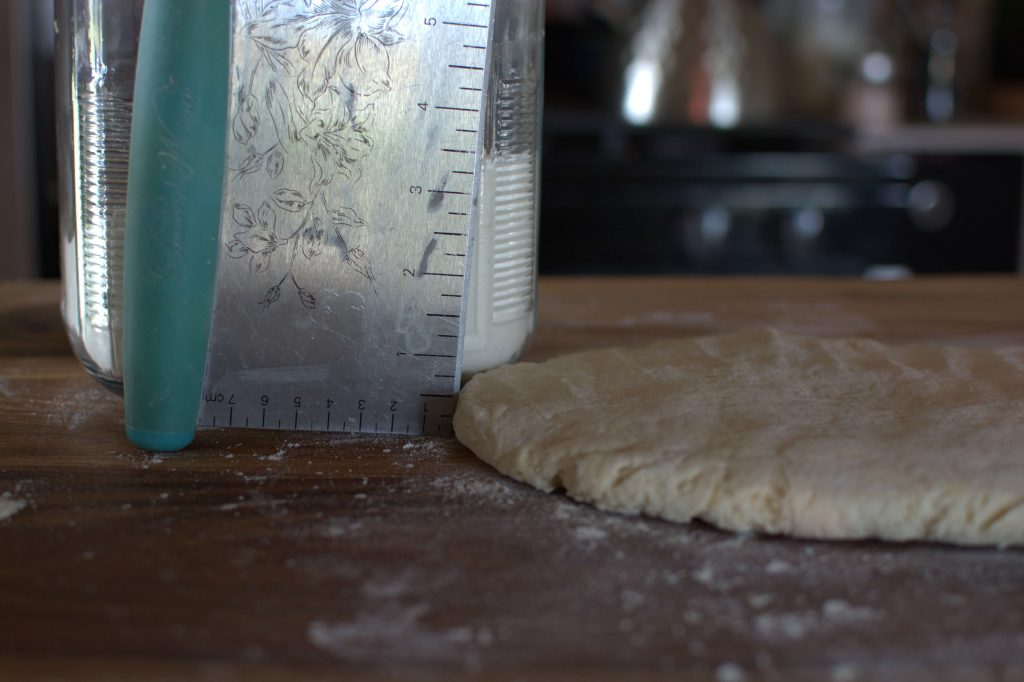
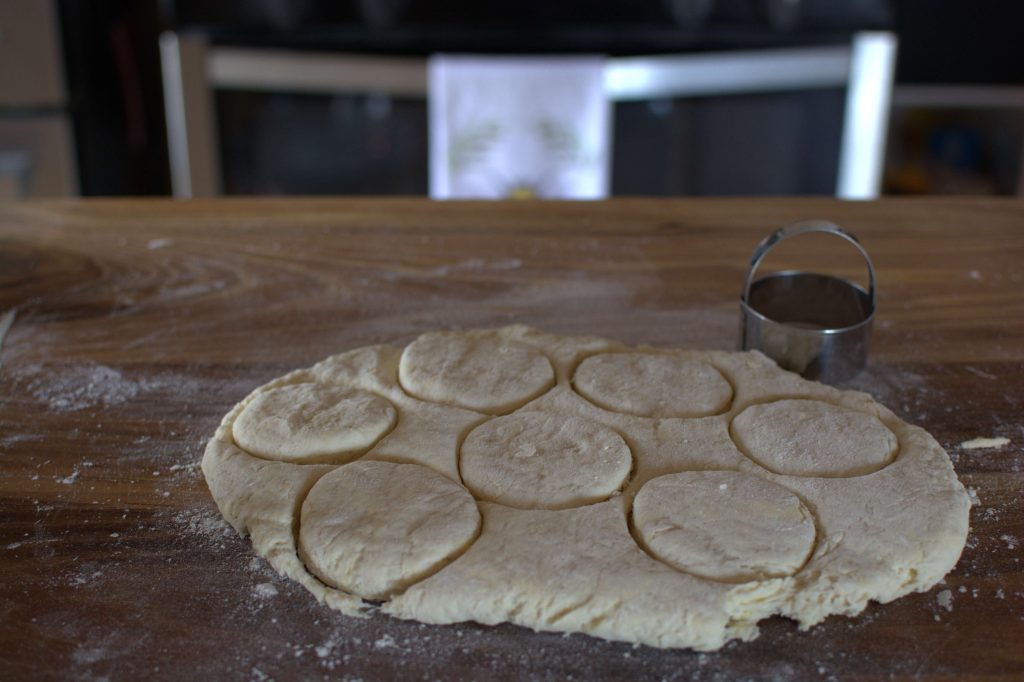
After the flour mixture is ready, add in the kefir yogurt. Stir together until it is just combined. You will probably need to ditch the spoon and use your hands. You do not want to over mix the dough. Once it is combined enough to work with, place it on a floured work surface. Spread it out with your hands until it is about a half inch thick. Take the biscuit cutter and make as many biscuits as you can. Do not spin the biscuit cutter as you go because it seals the edges and keeps it from rising as much.
Place the biscuits on the pan or cast-iron skillet placing them up against the edge and packing them tightly to one another. This helps the biscuits rise instead of spreading out, creating a fluffier biscuit. I have found that I like to place the cast iron skillet in the oven as it preheats so it is hot and ready for the biscuits. This is the cast iron skillet I use that works perfectly for a single batch of biscuits.
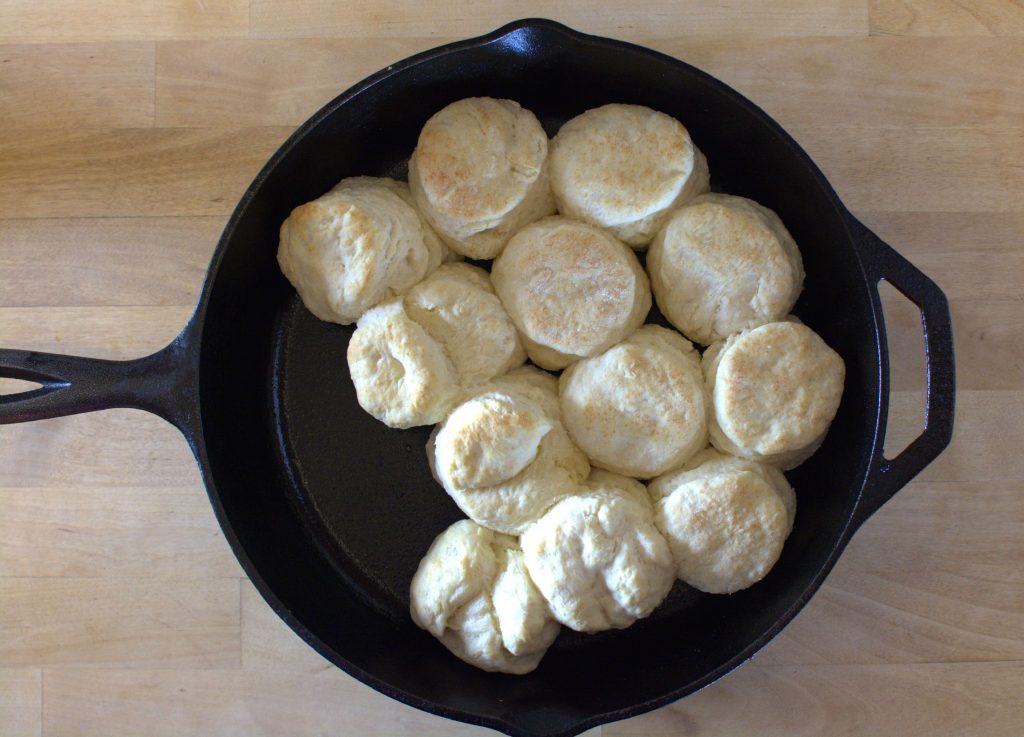
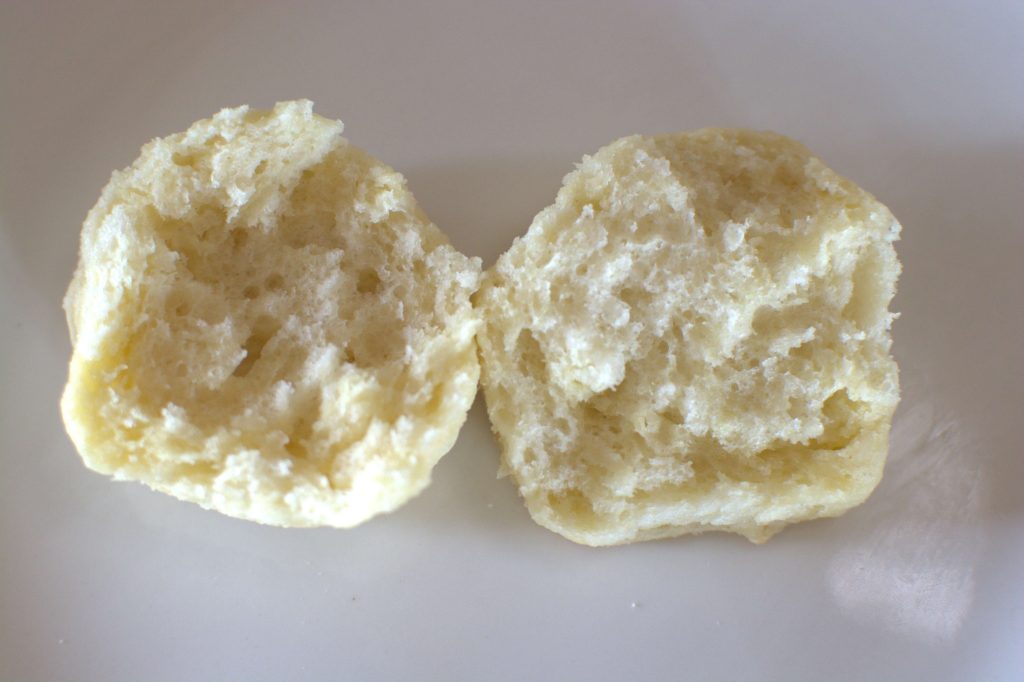
Bake them in a 450-degree oven for 10 minutes. Baking time could vary a couple of minutes based on your oven. You want them to be fluffy and lightly browned on top.
Time to Enjoy
We love opening them up and placing some Kerrygold cheese on them while they sit in the warm oven for a minute as it melts. Then, we add eggs and either bacon or sausage. Obviously, everyone has their favorite way to enjoy a biscuit. We enjoy them with honey, jelly, or alongside a main dish for dinner. However you choose to eat them, you will not be disappointed. Make sure to let me know how they turn out!
Biscuits from Scratch
Equipment
- Mixing bowl
- Flour Sifter (not necessary)
- Liquid Measuring Cup
- Measuring utensils
- Dough Scraper (not necessary)
- Spoon
- Biscuit Cutter or something to cut circles
- Cookie sheet or cast iron skillet
Ingredients
- 2 Cups All Purpose Flour (they do not have to be leveled off)
- 1 Tbsp (heaping) Baking Powder
- 1/4 tsp Baking Soda
- 1 tsp salt
- 6 Tbsp Unsalted Butter (you can substitute about 85 grams of lard)
- 1 Cup Kefir Yogurt (you can substitute buttermilk instead)
Instructions
- Preheat your oven to 450 degrees Fahrenheit. If you are using a cast iron skillet, preheat that as well.
- Sift together the 2 cups of flour, heaping tablespoon of baking powder, and 1/4 teaspoon of baking soda together in a large mixing bowl.
- Then add 1 teaspoon of salt and combine.
- On a floured surface, use the dough scraper (or a knife) to cut the 6 tablespoons of cold butter into cubes. Use extra flour to keep the butter from sticking to the dough scraper.
- With your hands, mix the butter into the flour mixture until it is mostly combined. Small pebbles of butter is fine.
- Add 1 cup of kefir yogurt (or buttermilk) to the mixture and mix just until you have a dough you can work with. You can start with the spoon and then ditch the spoon and use your hands. If the dough is too sticky, add more flour. If it is too dry, add more yogurt.
- Once the dough is combined enough to work with, place it on a floured surface. Be careful not to overwork the dough.
- Flatten the dough out until it is about a half inch thick.
- Use the biscuit cutter to make as many biscuits as you can. Do not spin the biscuit cutter.
- Gather the remaining dough and flatten it out again to make more biscuits. Repeat this until the dough is all used up. You may have a small biscuit left in the end.
- Place the biscuits on the pan or cast iron skillet so that they are touching the edge of the pan or skillet and each other.
- Bake for 10 minutes or until they are golden brown.
Leave a Reply