
Rome wasn’t built in a day and nor was the yurt. Construction of the yurt only took a few days, but preparations for the platform took time. With almost all projects, problems arise, plans change, and finally things come together.
This post may contain affiliate links. Please read the disclosure policy.
Best Laid Plans
Our original plan, the use of the word “original” should tell you something, was to first build our metal shop while we waited for the yurt to arrive. We figured we could use the shop for storage while we prepared the platform for the yurt. Unfortunately we ran into a problem. We found the ground way too wet to do any work.
Off to a Sloppy Start
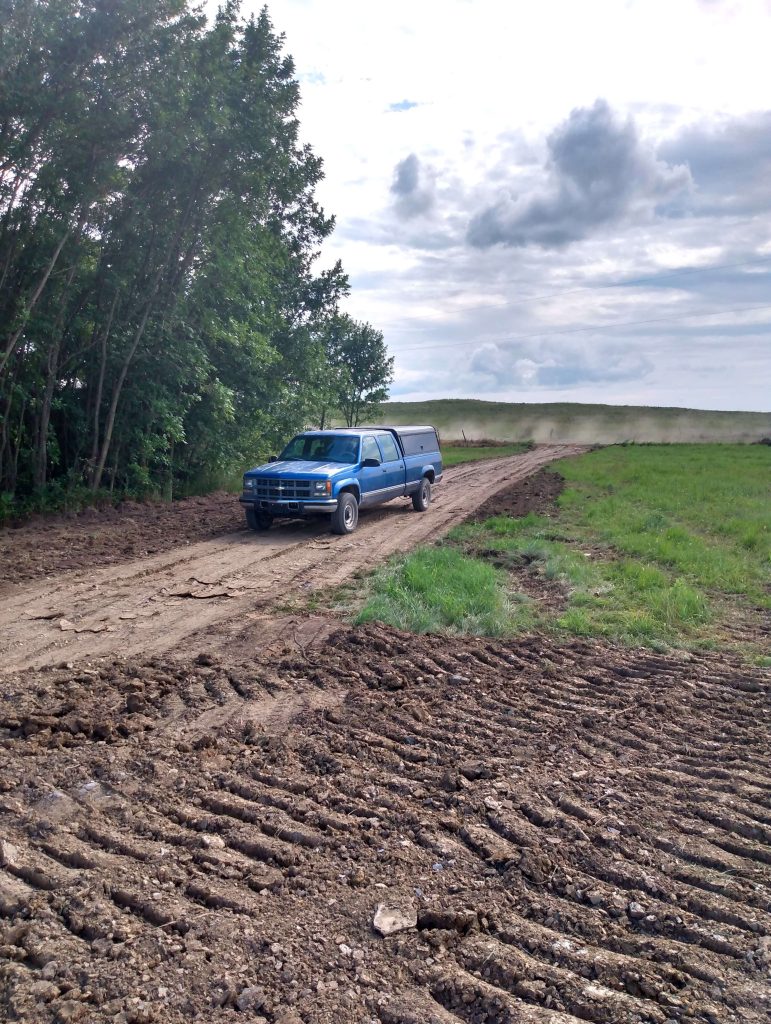
We waited a few weeks before continuing work thinking the ground would dry up. In the meantime, we had several loads of dirt delivered to the property. Once we thought things were good, we paid our neighbor to come over with his skid steer to help us spread the dirt and prepare the plot. In a matter of an hour, we managed to get the skid steer, our truck, and two tractors stuck in the mud. It clearly hadn’t dried up and this is when we realized our land really holds water.
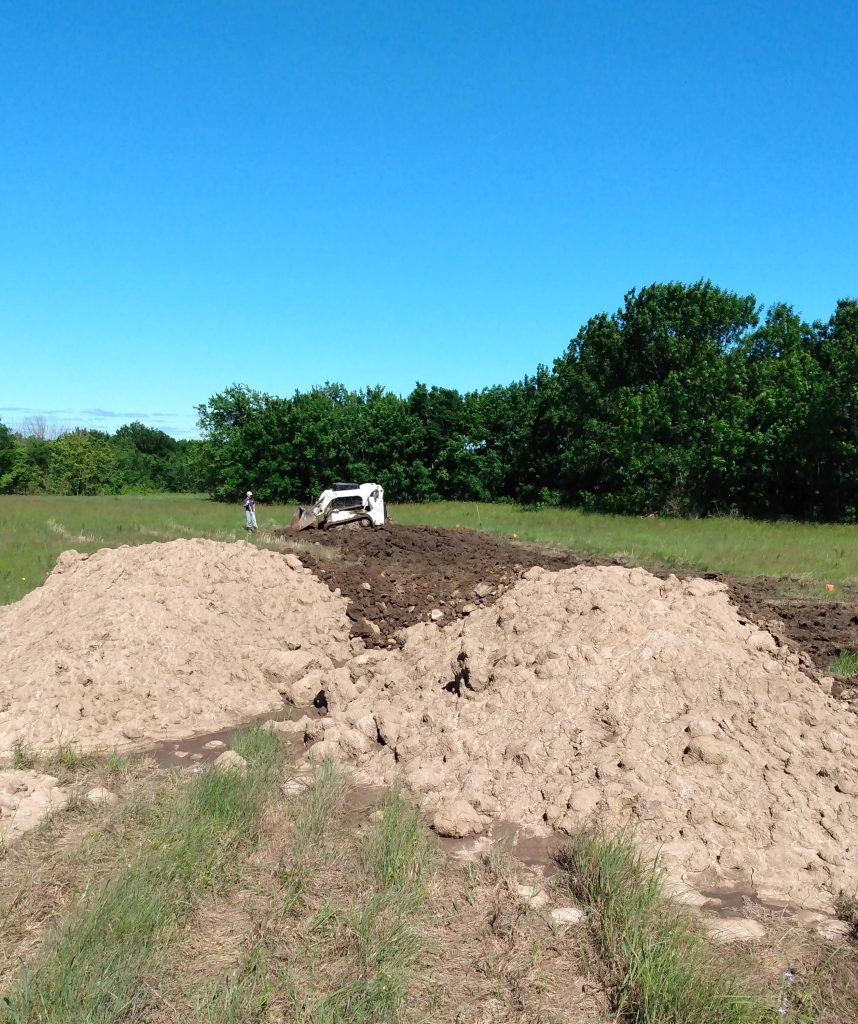
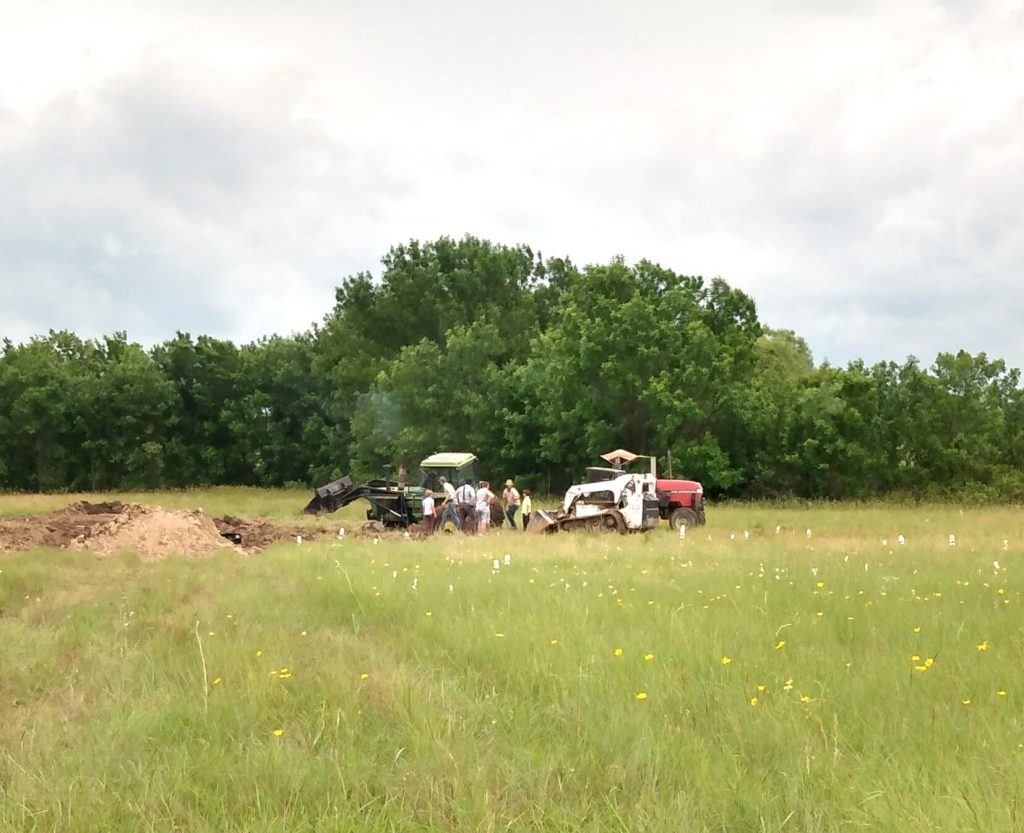
Thankfully, our Amish neighbors came to help, and they were finally able to pull everything out of the muck, except one of the tractors. We called it a night with no work completed and a giant muddy mess left behind. That is when we decided to bring in a professional.
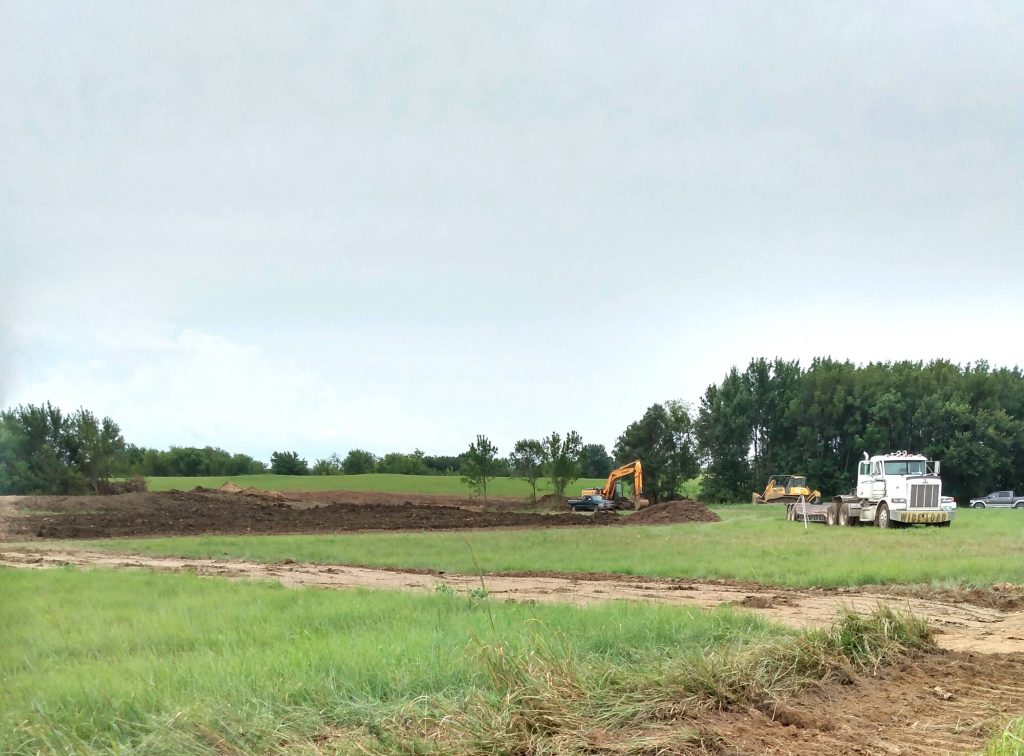
New Plan
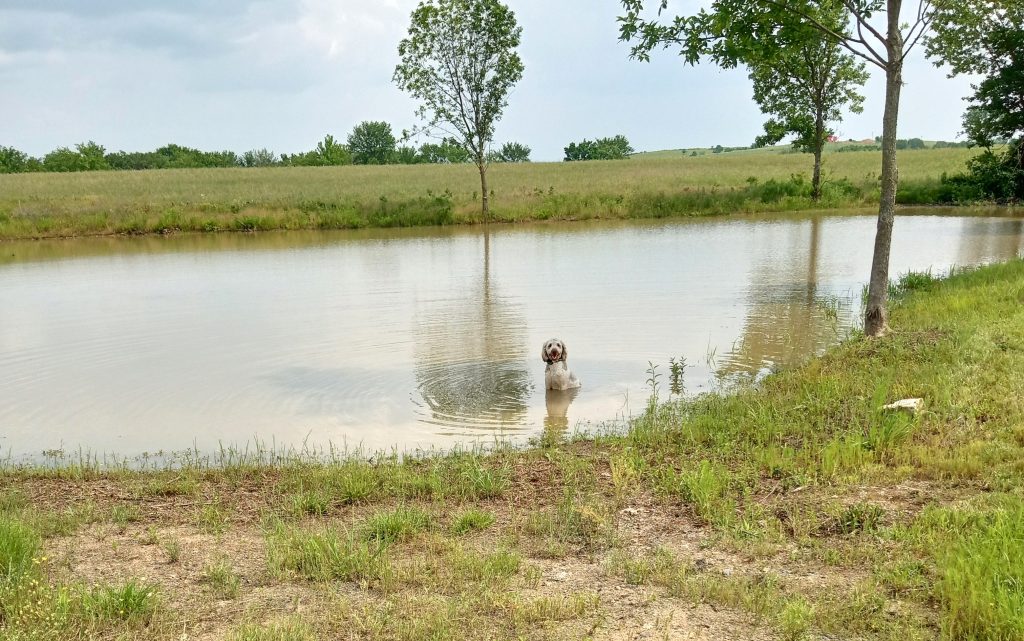
He suggested we clear out the area around our existing pond to make it accessible and bigger. We could use the shale and dirt from the base of the pond to build up a pad for our shop, a future house build, and the yurt. We had not planned for this expense, but it did save us money on dirt since we did not have to bring it in from another location. Plus, we were able to upgrade our pond and install a pipe through the dam for a water source for future animals.
This plan came together in May, but work was not able to begin until the beginning of August when things had dried out. When we were finally able to begin work, we needed to start on the yurt instead. The shop would need to wait.
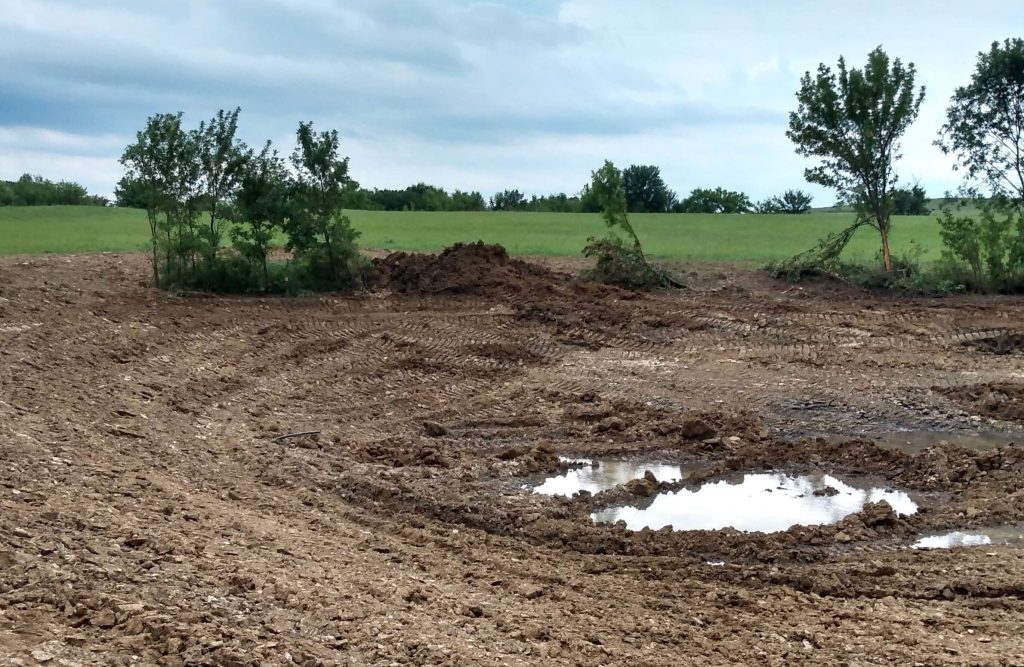
Ready to Build
With the dirt work finished, we had three dirt pads ready for structures, a bigger pond with an overflow pipe, a way to access pond water for animals, and two driveways. Overall, our property looked nicer and was more functional.
Telephone Poles
The Yurt needs either a platform or a concrete slab for its construction. We chose the platform route so that Jonathan could install and later access the pipes and electrical via the crawl space.
To save money, Jonathan and I visited the local dump and picked up used telephone poles for $10/pole. We cleaned them up by pulling out any existing scrap metal and then cut the poles in half to use as piers for the yurt platform.
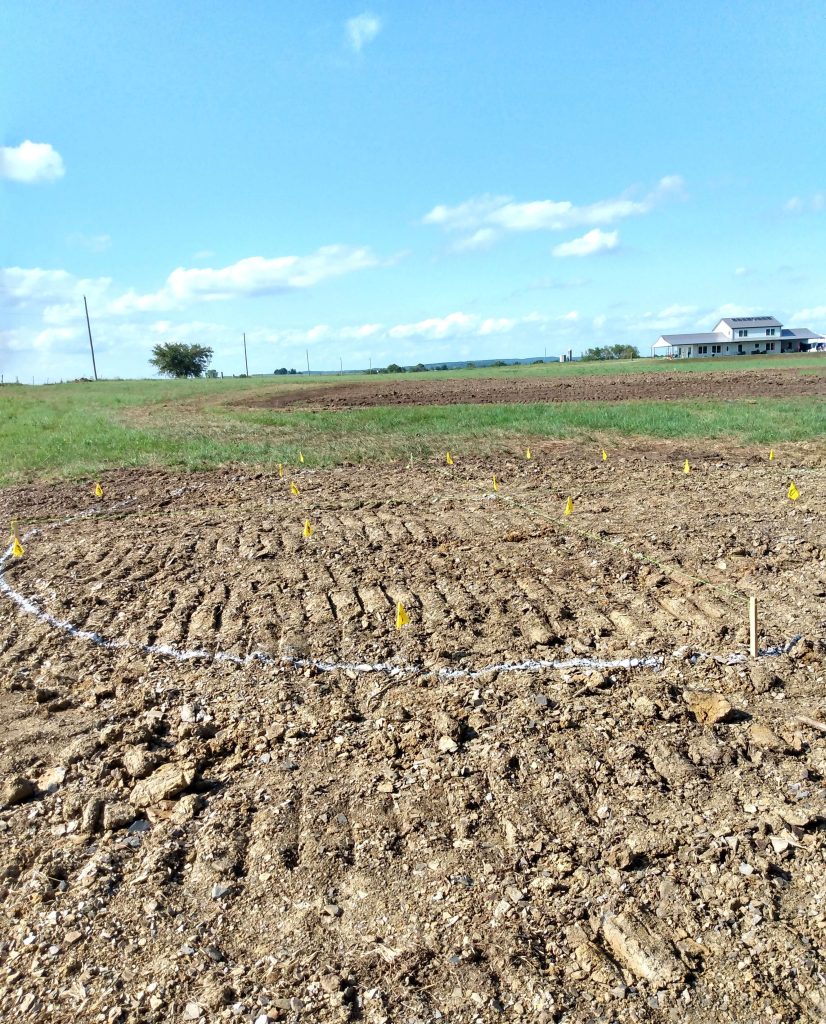
Measuring out the Circumference
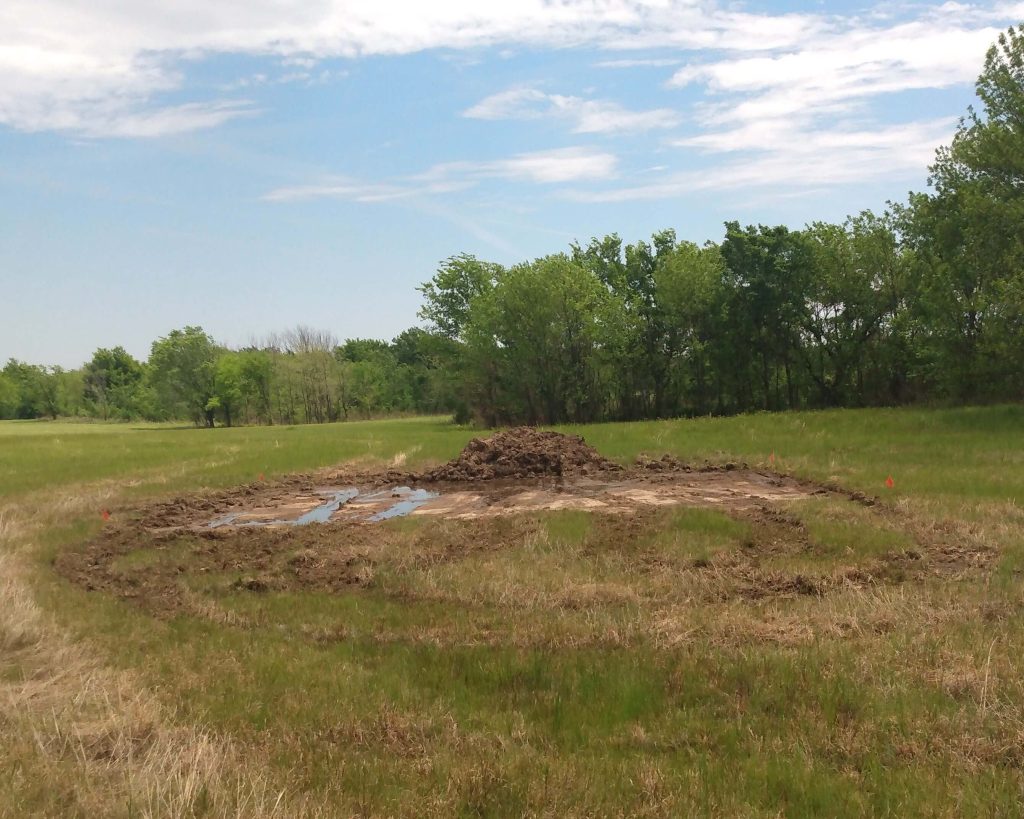
The dirt pad was ready to use but we needed to plan things out before doing any work. We used marking paint to mark off the 30-foot diameter circle of the yurt. We then measured out where each pier would go and placed a yellow flag to mark the spot. Though we had already planned out the inside of the yurt, even drawing everything to scale using this neat ruler, it seemed impossible that everything would fit inside that outlined circle.
Auguring Holes for the Telephone Poles
Having marked off the circle, it was time to place the telephone poles in the ground. Thankfully, we were able to borrow a skid steer and augur. We dug the holes four feet deep, added gravel to the base, placed the poles, filled it with more gravel and tamped it down, and then added dirt. This process was repeated for each of the 17 poles.
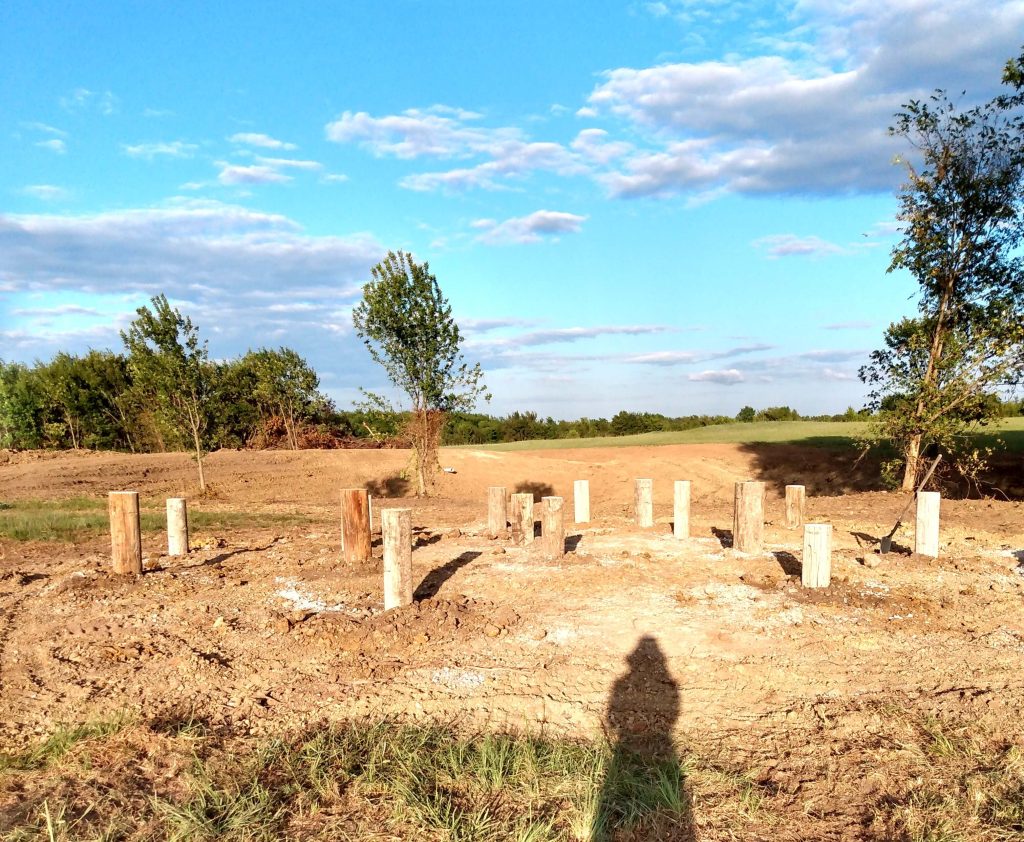
Leveling the Poles
Next, we needed all the poles at the same height. Jonathan set up a laser level and used his chainsaw to level each pole. This task was a bit difficult, but we eventually got the job done.
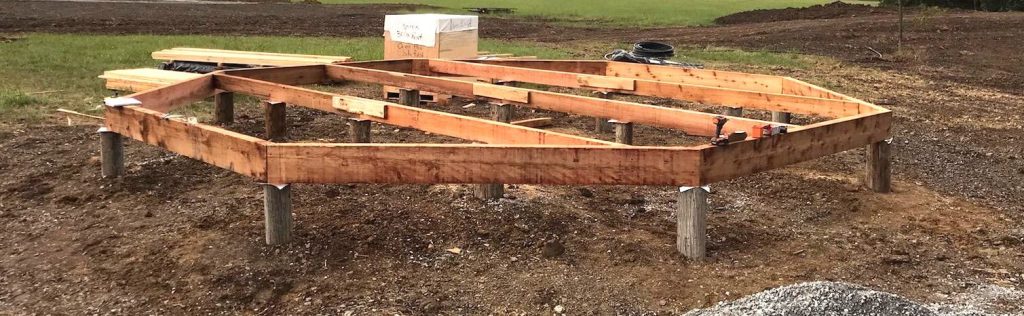
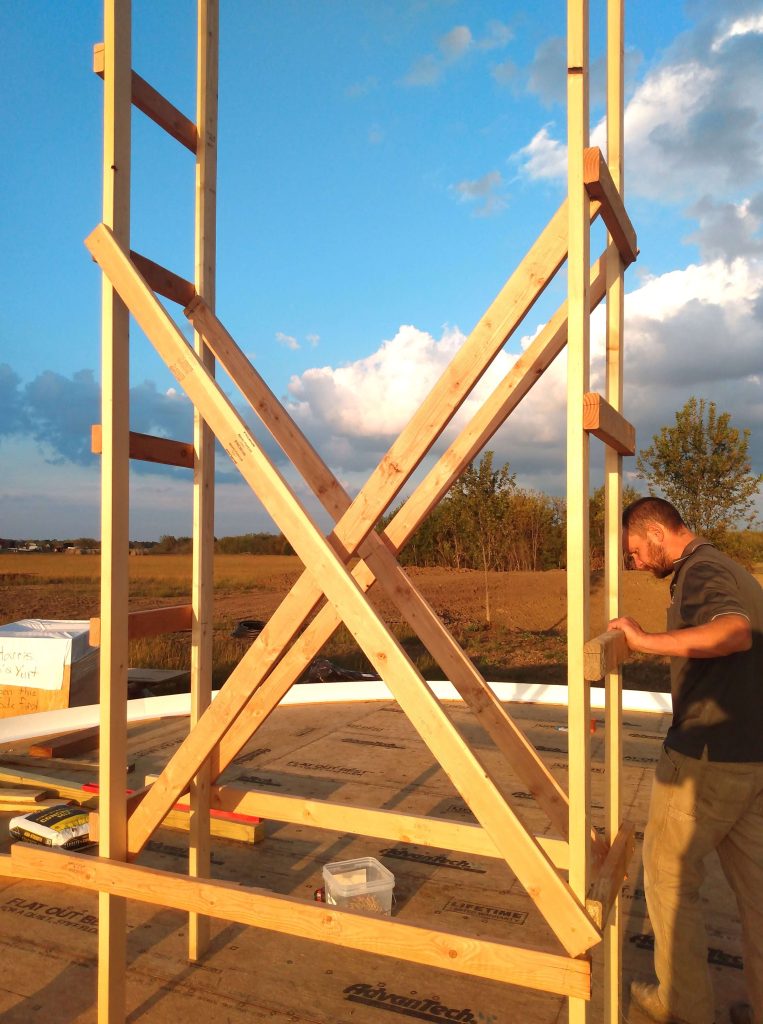
Building the Platform
Once the piers were in place, we secured the 11 cedar beams on top of the piers. We did this by cutting eight cedar beams to length and made an octagon-shaped perimeter. Then, we divided the octagon into fourths with 4×8 cedar beams that we used for crossbeams.
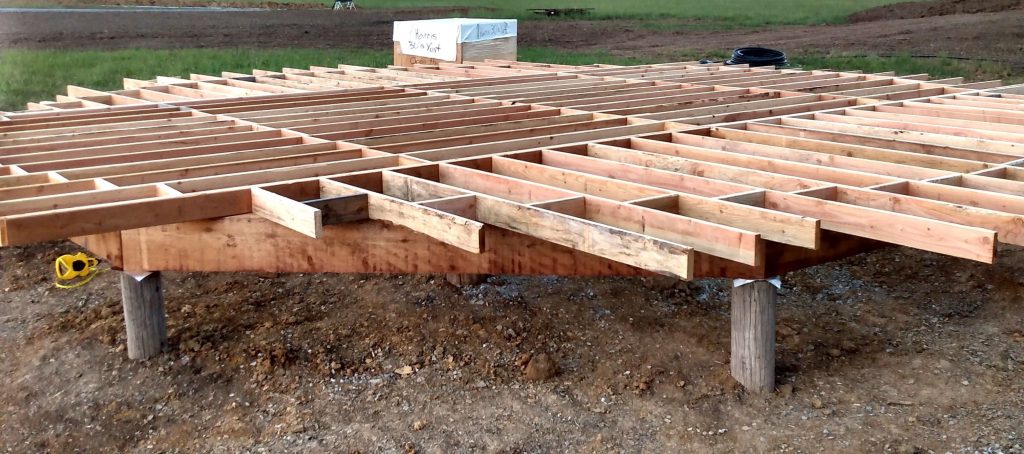
From there we added 2×6 floor joists on 16-inch centers securing them with braces and joist hangers.
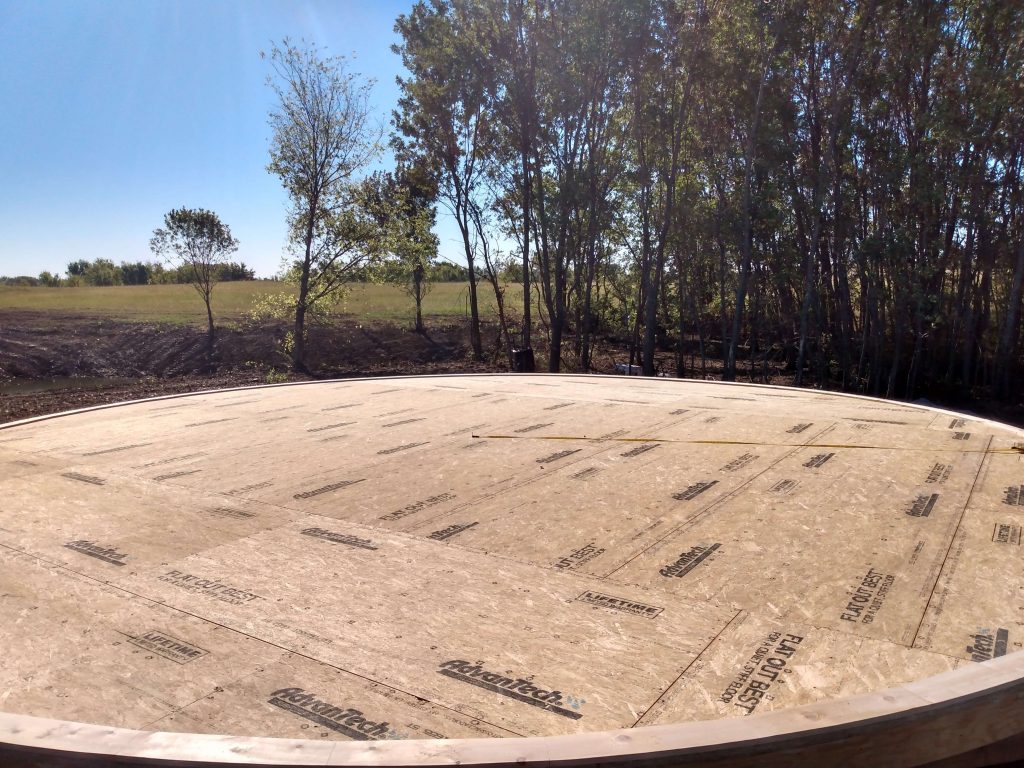
With the platform structure built and secured, we added 1-1/8” tongue and groove AdvanTech sub flooring. At this point, things were really coming together. We followed the yurt installation instructions and added a 1×6 board along the edge since we would be adding the flooring later. Finally, we added a rim joist using ½ inch plywood that we ripped to size and then wrapped around the edge of the platform. This provided a perimeter where the yurt lattice could attach.
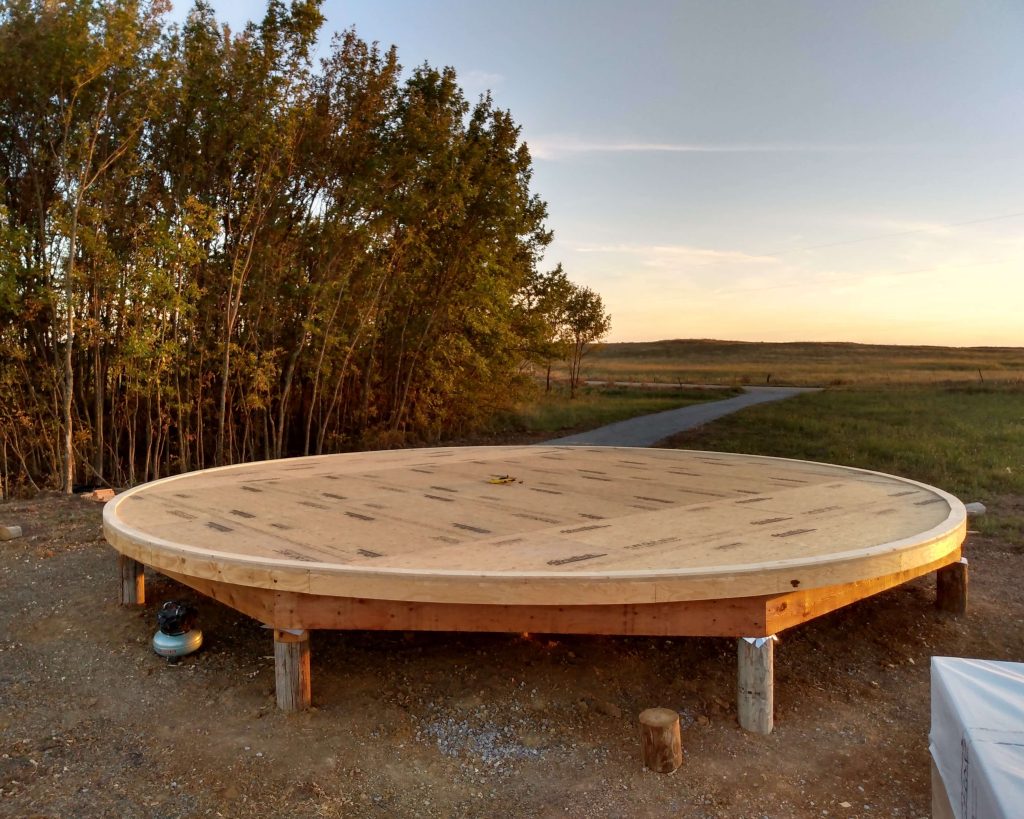
Finishing Touches
For those who may not know, sanding is my least favorite task. It is even worse if it is sanding of drywall mud. Unfortunately, the edges had to be sanded with this belt sander and smoothed with a hand planer before they could be painted. These two elements would be seen from inside the yurt so they needed to have a finished look. They serve as a sort of baseboard like you would find in a traditional home.

Once it was all said and done, we had a 30-foot diameter platform raised about 2 ½ feet off the ground. I know it is unusual to see a round platform prepared out in the middle of a pasture, so we had several folks pass by and ask what we were up to. I kid you not, one gentleman asked if we were building a hot tub! Yes, we spent all this money on land and worked all summer in the heat on this platform so that we could make our soaking dreams come true!?!?
With the platform complete, we were all ready to construct the yurt which I will share about in a future post.
Make sure to subscribe if you would like to be informed of new posts. If you have any questions about this preparation process, leave them in the comment section below!
Leave a Reply